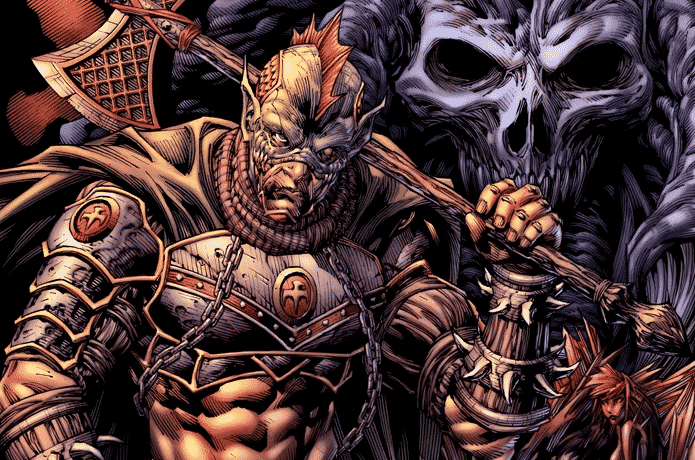
In today’s comic art tutorial we’ll continue working on Goliath’s character sheet as we turn our attention to the top down, three quarter, back view of his design.
Goliath is a character I developed for Rob Arnold’s Replicator comic book series. If you’d like to find out more about Replicator, sign up to Rob’s IndieGoGo campaign for updates on his upcoming 3rd issue: https://www.indiegogo.com/projects/replicator-3/coming_soon
Drawing characters from behind can be trickier than the viewpoints that present them from the front. Why? Well because we’re more used to seeing and interacting with other people from the front, and for us artists that’s also how they’re most commonly drawn.
So it’s a simple case of being more unfamiliar with the back view, that’s why it’s harder to draw. But that doesn’t mean onlookers won’t be able to tell if something looks off. It’s just as important to get the anatomy and proportions of the back correct, as it is the front, because on a subconscious level everyone knows how the human body should look.
I start out Goliath’s ¾ back view diagram with a basic sketch, as I would any other character drawing. I keep it loose and rough, trying to get the anatomy and body structure down as accurately as I can. Not only that, but I’ve also got to make sure Goliath’s all lined up in the proper perspective, otherwise his representation in three dimensional space will appear warped.
The initial foundational phase of the drawing is really the hardest part. Once the blueprint is ready to go, it’s just a matter of going in over the top and retracing my steps with sharp, clean contours to reproduce a polished presentation for the concept.
I make my way throughout the three quarter back view design of Goliath one section at a time, laying in the primary outline first, then dropping in the shadows and finally the rendering. As I work I’m constantly keeping in mind three things – how the scene is lit, the forms I’m dealing with, and their surface textures/materials. Those three considerations help me to make the right call whenever I’m in doubt.
I hope you enjoy this video and get a ton of value out of it. Try out some of the tips and techniques I’ve shared with you throughout today’s demonstration – and remember to practice, practice, practice. It’s the only way to truly hone your artistic skillset!
PLEASE NOTE: This tutorial may not always be available for free. There’s a good chance it’ll be taken down, re-edited and packaged up as a premium product later on. So if you find this lesson valuable, please make the most of it while it’s available for free, by taking notes and putting as much of it as you can into practice. Save the video onto your hard drive as well if you’d like, so that you can refer back to it later on.
Until next time, keep on drawing.
-Clayton
Software Used: Clip Studio Paint/Manga Studio
If you like the video, show your support by commenting, sharing or subscribing.
Comic Art Community – https://www.howtodrawcomics.net/comic-art-community/
How to Draw Comics .NET – http://www.howtodrawcomics.net/
Instagram – https://www.instagram.com/howtodrawcomics/
Facebook – https://www.facebook.com/howtodrawcomics
Twitter – https://twitter.com/howtodrawcomics
Tumblr – http://howtodrawcomics.tumblr.com/
Pinterest – http://www.pinterest.com/howtodrawcomics/